Mrs. Clay’s Day-After-Christmas Ham Broth
A quiet kitchen tradition for using what’s already been given
❤️ Why This Post Exists
The day after Christmas is one of my favorite days of the year.
The house is quieter.
The table is cleared.
The rush has passed, and what remains is the gentle work of caring for what’s left.
After the ham is sliced and tucked away for sandwiches and suppers, I’m always left holding the bone — warm, fragrant, and full of possibility. It feels almost wrong to toss it aside when there’s still so much goodness waiting to be drawn out.
Making broth on the day after Christmas feels like an act of stewardship. A way of honoring the meal we shared, stretching it just a little farther, and preparing something nourishing for the days ahead when life returns to its normal pace.
This is not a rushed process.
It’s a slow simmer, often overnight, filling the kitchen with the quiet comfort of something being made with care.
🍲 Why Ham Broth Is Different
Ham broth isn’t delicate like chicken stock.
It’s deeper. Richer. More grounding.
Because spiral hams are cured, the broth already carries seasoning — which is why I always hold off on adding salt. Instead, I let the bone, time, and a few gentle aromatics do the work.
This broth becomes the backbone of:
- Bean soups
- Greens
- Potato dishes
- Rice and grains
- Winter soups that need warmth, not fuss
🥄 Step-by-Step with Mrs. Clay
1️⃣ Prepare the bone
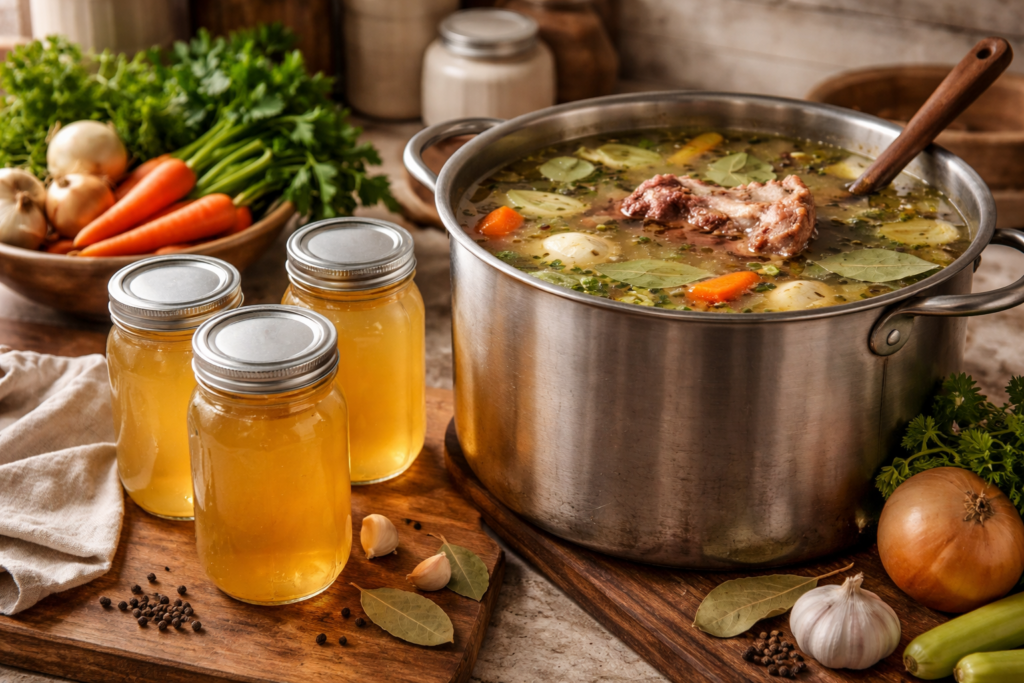
After carving off as much usable meat as possible, place the ham bone into a large stockpot or roaster oven. If it fits, cracking the bone in half helps release more collagen and flavor.
2️⃣ Add vegetable scraps
I keep freezer bags of vegetable scraps just for broth. Add what you have:
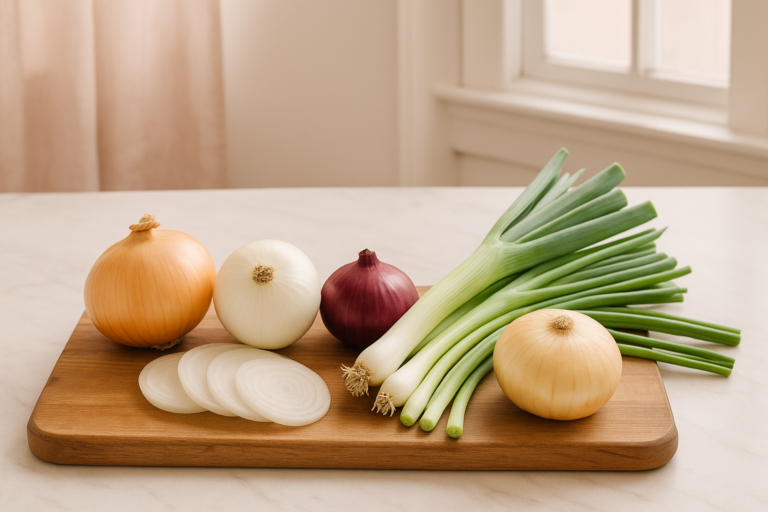
- Onion ends and skins
- Carrot peels and ends
- Celery ends
- Parsley stems
Avoid:
- Broccoli or cabbage scraps
- Potato peels
- Strong herbs
These scraps add body and aroma without overpowering the ham.
3️⃣ Add water (this matters)
Cover the bone and vegetables with water by about 2 inches only.
Do not fill the pot or roaster completely at the start.
You can always add water later — you can’t take richness back once it’s gone.
4️⃣ Gentle seasoning (no salt yet)
Add:
- 1–2 bay leaves
- ½ teaspoon whole black peppercorns
- A small pinch of thyme
That’s all.
5️⃣ Slow simmer
Set:
- Stockpot: very low simmer
- Roaster oven: 190–205°F
Let the broth simmer 8–12 hours, preferably overnight.
You want gentle movement, not a rolling boil.
6️⃣ Morning check
Taste the broth before straining.
At this point you decide:
- Is it rich enough? → strain and stop
- Is it stronger than needed? → dilute after straining
- Is it salty? → dilute or blend later when cooking
This step gives you control.
7️⃣ Strain and chill
Remove the bone and vegetables and strain the broth.
Refrigerate until cold, then skim off excess fat from the surface.
This is especially important if you plan to can the broth.
🌸 Mrs. Clay’s Tip
Ham broth is best left unsalted until it’s used in a recipe.
Because the ham is cured, seasoning later keeps the broth flexible and prevents it from becoming too salty during storage or cooking.
From My Recipe Box to Yours
There’s something comforting about knowing that one holiday meal can quietly become many more.
This broth is made in the stillness after the celebration — when the dishes are done, the decorations glow softly, and the kitchen returns to its steady rhythm.
It’s not flashy cooking.
It’s the kind that sustains.
Mrs. Clay’s Day-After-Christmas Ham Broth
(Recipe Card)
Yield: Approximately 8–10 quarts
Prep Time: 10 minutes
Cook Time: 8–12 hours
Ingredients
- 1 ham bone (from a half spiral ham)
- Vegetable scraps (onion, carrot, celery, parsley)
- Water (to cover by 2 inches)
- 1–2 bay leaves
- ½ teaspoon whole black peppercorns
- Pinch dried thyme
Instructions
- Place ham bone and vegetable scraps into a stockpot or roaster oven.
- Add water to cover ingredients by about 2 inches.
- Add bay leaves, peppercorns, and thyme. Do not add salt.
- Simmer gently at 190–205°F for 8–12 hours.
- Taste broth and adjust strength by adding water if needed.
- Strain broth and discard solids.
- Chill and skim excess fat before storing, freezing, or canning.
✨ A Thought to Close the Day
The days after Christmas teach us something gentle — that care doesn’t end when the celebration does. Sometimes it deepens.
May your kitchen feel calm today.
May what you saved and simmered bring comfort later.
And may the quiet work of caring for your family nourish you, too.
From my home to yours 🤍