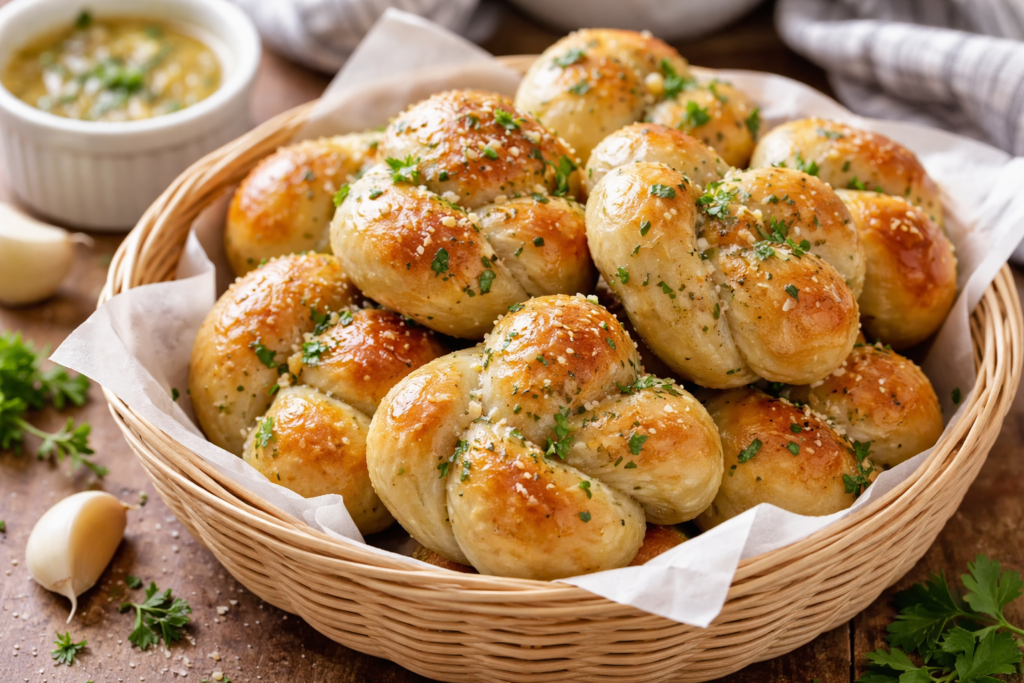
🧄 Mrs. Clay’s Garlic Knots
A cozy way to use extra pizza dough
❤️ Why I Love Using Leftover Dough
Some of my favorite meals don’t come from planning something new — they come from not letting something good go to waste.
Pizza night is always loud and happy around here. Flour on the counter, hands reaching for toppings, conversations overlapping as everyone builds their own just the way they like it. And when the oven finally cools and the kitchen settles, there’s almost always a little dough left behind.
I used to see that extra dough as a decision I hadn’t made yet.
Now, I see it as an opportunity.
That dough has already been worked with care. It’s rested. It’s risen slowly. It carries the same flavors and memories as the pizzas we just shared. All it needs is one more moment in the kitchen to become something comforting again the next day.
Turning leftover pizza dough into garlic knots feels like a quiet kindness — the kind that makes a regular dinner feel more intentional. There’s something satisfying about knowing that one batch of dough can stretch across more than one meal, nourishing both our table and our time together.
It’s not about stretching a recipe.
It’s about honoring it.
These garlic knots are made using leftover dough from Mrs. Clay’s Pizza Dough, our Davenport’s-inspired family favorite. If you’re looking for the dough recipe that pairs perfectly with these knots, you’ll find it there.
Why These Work
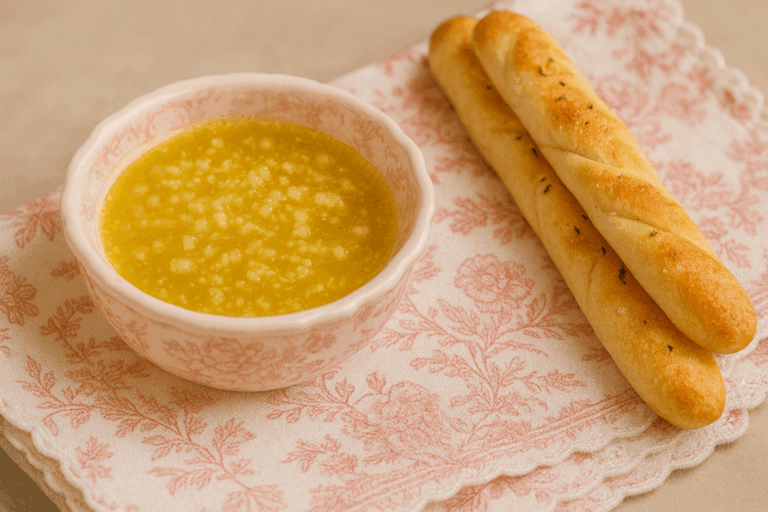
These garlic knots are soft on the inside, lightly crisp on the outside, and brushed with a warm garlic butter that soaks in without feeling greasy. They’re gentle enough for kids, flavorful enough for grown-ups, and perfect alongside pasta, soup, or salad.
🍞 What Mrs. Clay Uses
For the Knots
- 1 pizza dough ball (about 280–300 g) – leftover from our Family Pizza Night
- Olive oil, for brushing pan
🧄 Garlic Butter Topping (This is the Keeper)
- 4 tbsp butter
- 1 tbsp olive oil
- 1–2 cloves garlic, finely minced
(or ½ tsp garlic powder for a milder, kid-friendly version) - ¼ tsp salt
- Optional:
- 1 tbsp grated parmesan
- Pinch dried parsley
The olive oil keeps the butter from solidifying too fast and helps the topping soak in evenly.
🥄 Step-by-Step with Mrs. Clay
1️⃣ Bring the dough to room temperature
- Remove dough from fridge 45–60 minutes before shaping.
- It should feel relaxed and easy to handle.
2️⃣ Divide and shape
- Divide dough into 8–10 equal pieces.
- Roll each into a rope about 6–7 inches long.
- Tie into a loose knot.
- Don’t pull tight — leave room to puff.
3️⃣ Short rest (important)
- Place knots on a parchment-lined baking sheet.
- Cover loosely.
- Rest 15–20 minutes.
This rest keeps them fluffy, not chewy.
4️⃣ Bake
- Preheat oven to 425°F.
- Lightly brush knots with olive oil.
- Bake 10–12 minutes, until lightly golden.
They should stay pale with just a touch of color.
🧄 Make the Garlic Butter (While They Bake)
- Melt butter and olive oil together over low heat.
- Add garlic and salt.
- Warm gently for 30–60 seconds — do not brown the garlic.
- Remove from heat.
- Stir in parmesan or parsley if using.
5️⃣ Finish the knots
- Brush garlic butter generously over hot knots.
- Spoon extra over the tops so it soaks in.
- Serve warm.
🌸 Mrs. Clay’s Tip
- For very mild garlic, use garlic powder instead of fresh.
- For extra-soft knots, tent loosely with foil for the first 5 minutes of baking.
- Leftovers reheat beautifully wrapped in foil at 350°F for 8–10 minutes.
- For easy saving to recipe apps, a clean recipe card is included below.
From My Recipe Box to Yours
Some of the best recipes aren’t planned — they come from using what you already have and turning it into something special.
These garlic knots are one of those simple little extras that make an ordinary dinner feel a bit more cared for.
Mrs. Clay’s Garlic Knots
Servings: 8–10 knots
Serving Size: Varies
Ingredients
For the Knots
- 1 pizza dough ball (about 280–300 g)
- Olive oil, for brushing
Garlic Butter Topping
- 4 tbsp butter
- 1 tbsp olive oil
- 1–2 cloves garlic, finely minced or ½ tsp garlic powder
- ¼ tsp salt
- Optional:
- 1 tbsp grated parmesan
- Pinch dried parsley
Instructions
- Bring dough to room temperature (45–60 minutes).
- Divide into 8–10 pieces, roll into ropes, and tie loose knots.
- Rest 15–20 minutes, covered loosely.
- Bake at 425°F for 10–12 minutes, until lightly golden.
- Prepare garlic butter while knots bake.
- Brush generously with garlic butter while hot.
- Serve warm.
✨ A Thought to Close the Day
There’s comfort in knowing that one batch of dough can stretch across more than one meal — nourishing not just bodies, but time together.
May your kitchen feel warm tonight, and may every knot tied by hand be a reminder that the simplest things are often the most satisfying.