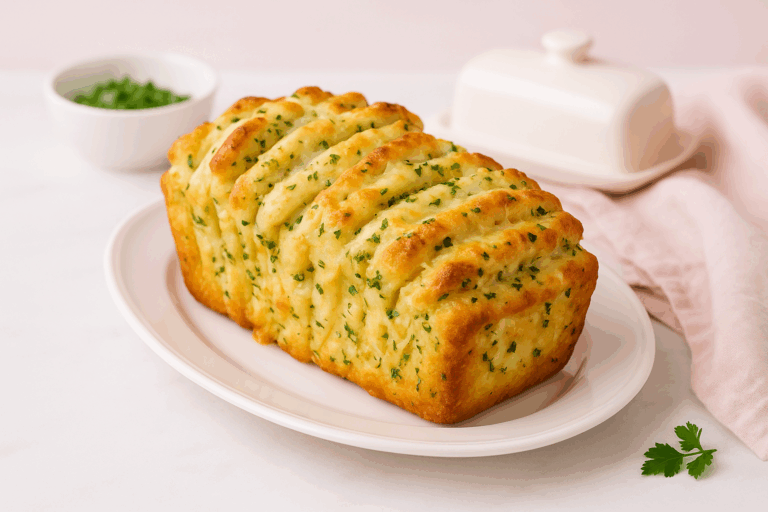
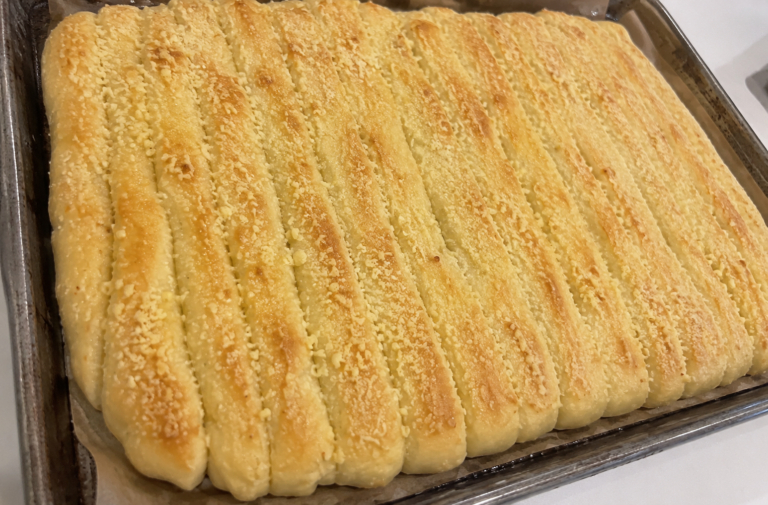
Mrs. Clay’s Cheesy Garlic Parmesan Breadsticks
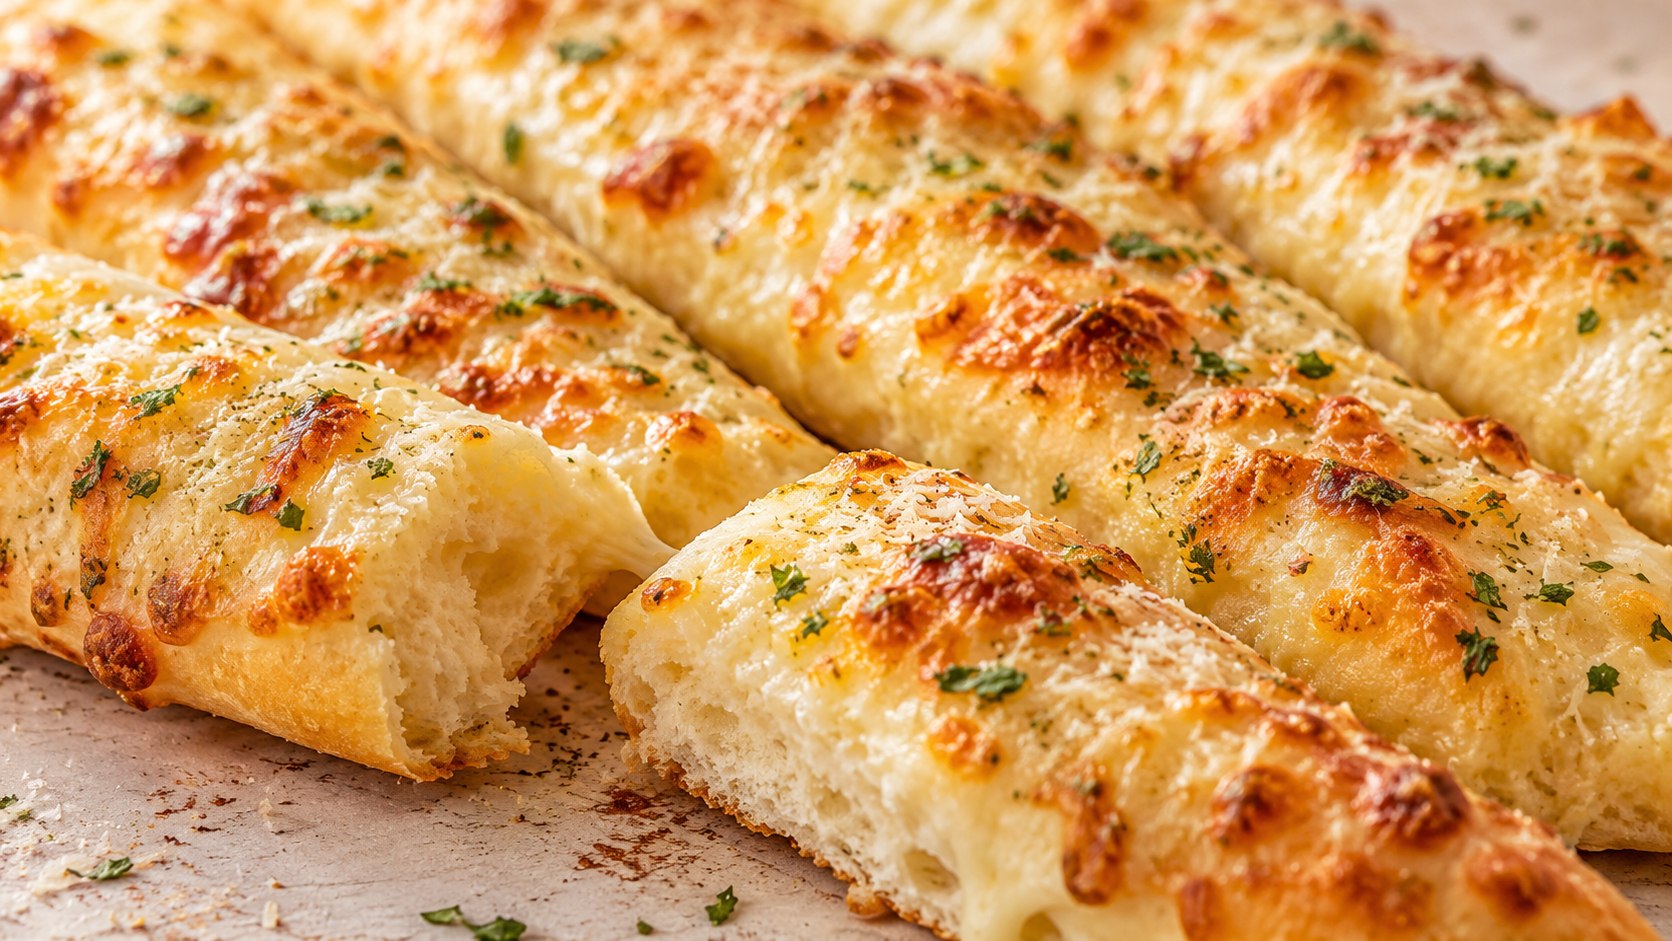
There is garlic bread.
And then there is warm homemade bread covered in garlic butter, mozzarella and Parmigiano-Reggiano.
These are definitely the second kind.
I originally made these Cheesy Garlic Parmesan Breadsticks to go alongside our spaghetti and meatballs dinner, but they are far too useful to belong to only one meal. I can see them beside lasagna, chicken Alfredo, soup, pizza night—or honestly disappearing from the pan before dinner ever reaches the table.
The dough itself gets Parmesan, garlic and Italian seasoning, so the flavor isn’t sitting only on top. Then the risen dough gets brushed with garlic butter, covered with mozzarella and more Parmesan, baked until golden, and brushed with more garlic butter while it is still hot.
Because if we’re making homemade cheesy breadsticks, this is not the moment to become timid.
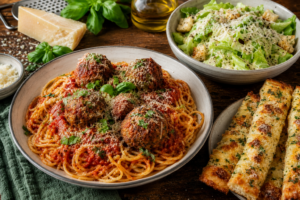
Originally served as part of: Mrs. Clay’s Spaghetti & Meatballs Dinner with Cheesy Garlic Parmesan Breadsticks & Parmesan Iceberg Salad
Cheesy Garlic Parmesan Breadsticks
Yield: 12–16 breadsticks
Ingredients
For the Dough
- 1 cup warm water, about 105–110°F
- 2¼ teaspoons yeast
- 1 tablespoon sugar
- 3 tablespoons olive oil
- 3 cups all-purpose or bread flour, plus additional as needed
- ½ cup finely grated Parmigiano-Reggiano
- 1 teaspoon garlic powder
- ½ teaspoon Italian seasoning
- 1 teaspoon kosher salt
For the Garlic Butter
- 6 tablespoons butter
- 3 cloves fresh garlic, pressed
- ½ teaspoon garlic powder
- ½ teaspoon garlic salt with parsley
- ½ teaspoon Italian seasoning
For the Cheese Topping
- 1½ cups freshly shredded low-moisture mozzarella
- ½ cup finely grated Parmigiano-Reggiano
- Additional Parmigiano-Reggiano, for finishing
- Fresh parsley, optional
Instructions
1. Start the Dough
Pour the warm water into the bowl of a stand mixer.
Add the yeast and sugar.
If using active dry yeast, let the mixture stand for about 5 minutes, until it begins to look creamy or foamy.
Add the olive oil, 3 cups flour, Parmigiano-Reggiano, garlic powder, Italian seasoning and kosher salt.
2. Knead the Dough
Attach the dough hook and mix on low speed.
If the dough is very sticky, add additional flour 1 tablespoon at a time.
You’re looking for a soft dough that is slightly tacky but pulls away from the sides of the bowl.
Don’t keep adding flour simply because the dough feels soft. Too much flour is one of the quickest ways to turn a wonderful breadstick into a heavy one.
Once the dough comes together, knead with the dough hook for about 5–6 minutes.
It should become smooth and elastic.
3. Let the Dough Rise
Lightly oil a clean bowl.
Place the dough in the bowl and turn it once so the surface is lightly coated.
Cover and let rise in a warm spot for about 60–75 minutes, or until approximately doubled in size.
4. Shape the Breadsticks
Lightly grease a 9×13-inch pan or a large baking sheet.
Gently deflate the risen dough.
Stretch or press it into approximately a 9×13-inch rectangle.
Try not to aggressively smash all of the air out of it.
5. Make the Garlic Butter
Melt the butter in a small saucepan over very low heat.
Add the fresh garlic and garlic powder.
Cook gently for 1–2 minutes.
We want the garlic fragrant and mellow—not browned.
Remove the pan from the heat.
Stir in the garlic salt with parsley and Italian seasoning.
6. Add the First Layer of Garlic Butter & Cheese
Brush approximately half of the garlic butter evenly over the dough.
Sprinkle with the freshly shredded mozzarella.
Top with the grated Parmigiano-Reggiano.
Lightly score the dough into 12–16 breadsticks.
You don’t need to cut completely through the dough yet. The score lines simply make the finished breadsticks easier to separate after baking.
7. Let Them Rise Again
Cover loosely.
Let the prepared breadsticks rise for another 30–40 minutes.
They should look visibly puffier before going into the oven.
Meanwhile, preheat the oven to 425°F.
8. Bake
Bake for approximately 14–18 minutes.
You’re looking for bread that is cooked through with beautifully golden edges and bubbling, browned cheese on top.
If the bread is finished but you want a little more color on the cheese, place it under the broiler very briefly.
Watch it carefully.
Cheese can go from gorgeously browned to well, that was unfortunate surprisingly fast.
9. Finish with More Garlic Butter
As soon as the breadsticks come out of the oven, brush them with the remaining garlic butter.
Finish with another generous sprinkle of Parmigiano-Reggiano.
Add a tiny additional sprinkle of garlic salt and fresh parsley if desired.
Let the breadsticks rest for about 5 minutes.
10. Cut & Serve
Cut along the score lines and serve warm.
Try not to eat half the pan while carrying them to the table.
No promises required.
A Couple of Helpful Kitchen Things
Sharing the meals we make and the things that work in my kitchen is one of my favorite parts of Mrs. Clay. If you happen to need one of the items I’ve mentioned below, please consider using my link. It never costs you anything extra, but I may earn a small commission, and those little bits truly help me keep this little corner of the internet going. I’m so grateful you’re here.
KitchenAid 7-Quart Bowl-Lift Stand Mixer — My KitchenAid Pro was a wedding gift 32 years ago, and it is still the mixer I use for bread dough today. Mine is an older model that is no longer made, but if I were looking for the current version of the same sturdy bowl-lift style, this is where I would start. A stand mixer certainly isn’t required for these breadsticks, but the dough hook makes kneading wonderfully easy—especially if you make bread often.
OXO Good Grips Silicone Pastry Brush — These breadsticks get garlic butter before baking and again while they’re hot, so a good pastry brush earns its keep here. If you need one, this silicone style is a nice option because it spreads the butter easily, cleans up well, and you don’t have to worry about stray bristles ending up on your bread.