Mrs. Clay’s Skillet Fried Apples
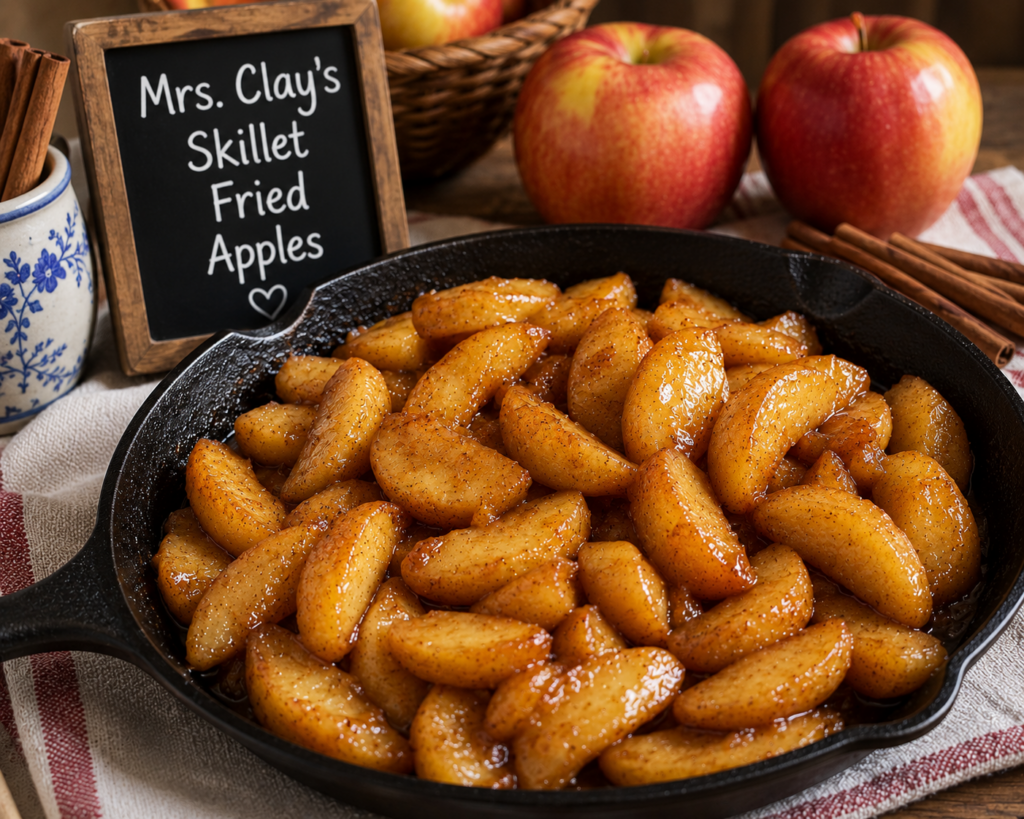
❤️ Tender apples cooked in butter with just enough brown sugar and cinnamon to let their natural sweetness shine. A simple side dish that’s just as welcome next to supper as it is beside a scoop of vanilla ice cream.
Some side dishes quietly become comfort food.
These apples are one of them.
They’re not overly sweet.
They’re not mushy.
They’re simply warm, buttery apples with just enough cinnamon to make the whole kitchen smell like home.
I love serving them alongside savory meals because they add a little sweetness without feeling like dessert. They’re especially good with pork chops, chicken, casseroles, or even a simple Sunday supper.
And if there happen to be leftovers…
Well, they’re pretty wonderful over vanilla ice cream the next day.
❤️ Why I Love These Apples
They’re simple pantry ingredients.
They come together in about 20 minutes.
They’re sweet enough to satisfy without stealing the show.
And they make almost any comfort meal feel just a little more special.
🥣 Step-by-Step with Mrs. Clay
1. Prepare the apples.
Peel, core, and slice:
- 5–6 medium apples (Cosmic Crisp, Honeycrisp, Gala, Fuji, or Granny Smith all work well.)
Aim for slices about ¼-inch thick so they cook evenly.
2. Melt the butter.
In a large skillet over medium heat, melt:
- 3 tablespoons butter
3. Add the apples.
Add the sliced apples to the skillet.
Cook for about 5 minutes, stirring occasionally, until they just begin to soften.
4. Sweeten and season.
Sprinkle over the apples:
- 2–3 tablespoons brown sugar
- ½ teaspoon ground cinnamon
- Tiny pinch of kosher salt
Stir gently to coat every slice.
5. Finish.
Continue cooking another 5–8 minutes, stirring occasionally, until the apples are tender but still hold their shape.
Remove from the heat and stir in:
- 1 teaspoon vanilla extract
🌸 Mrs. Clay’s Tips
• Don’t overcook the apples. They should be fork tender, not applesauce.
• A mixture of sweet and tart apples makes the best flavor.
• If your apples are naturally very sweet, start with only 2 tablespoons of brown sugar.
• A tiny pinch of salt makes the butter, cinnamon, and apples all taste brighter.
✨ Ways to Change It Up
Caramel Style
Add 1 tablespoon maple syrup during the last few minutes of cooking.
Apple Pie Flavor
Add a tiny pinch of nutmeg and allspice.
Southern Style
Finish with a small pat of butter just before serving.
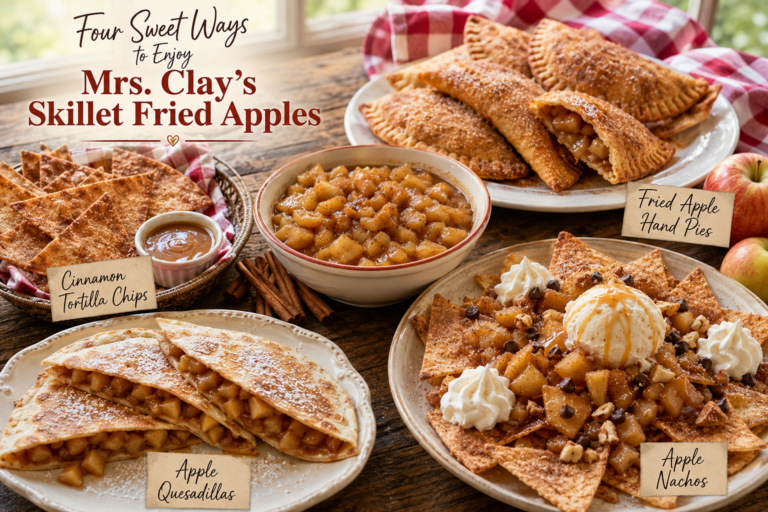
Dessert
Serve warm over vanilla ice cream or pound cake.
❤️ Mrs. Clay’s Kitchen Table
I’ve always loved the way simple recipes have a way of slowing everyone down.
There isn’t anything fancy about fried apples.
Just butter, cinnamon, and a skillet.
But somehow the smell drifting through the house makes people wander into the kitchen to see what’s cooking.
I’ve found that some of the very best moments around the table begin long before anyone sits down to eat.
Sometimes they begin with a wonderful smell coming from the stove.
🍲 From My Recipe Box to Yours
Mrs. Clay’s Skillet Fried Apples
Yield: 6–8 servings
Prep Time: 10 minutes
Cook Time: 12–15 minutes
Total Time: About 25 minutes
Ingredients
- 5–6 medium apples, peeled, cored, and sliced
- 3 tablespoons butter
- 2–3 tablespoons brown sugar
- ½ teaspoon ground cinnamon
- Tiny pinch kosher salt
- 1 teaspoon vanilla extract
Instructions
- Melt 3 tablespoons butter in a large skillet over medium heat.
- Add 5–6 sliced apples and cook 5 minutes, stirring occasionally.
- Sprinkle with 2–3 tablespoons brown sugar, ½ teaspoon cinnamon, and a tiny pinch of salt.
- Continue cooking 5–8 minutes, until the apples are tender but still hold their shape.
- Remove from the heat and stir in 1 teaspoon vanilla extract.
- Serve warm.
❤️ Mrs. Clay’s Recipe Notes
These apples are meant to be a side dish, not a pie filling. Let the apples remain the star by cooking them just until tender and using only enough sugar to complement their natural sweetness.