Mrs. Clay’s
🏷️Sticker & Residue Removal Guide🏷️
Gentle • Practical • Tried-and-True Solutions That Actually Work
Some annoyances feel bigger than they should — like peeling a sticker off a new container, only to be left with a sticky mess that collects lint, crumbs, and frustration.
Today was one of those days.
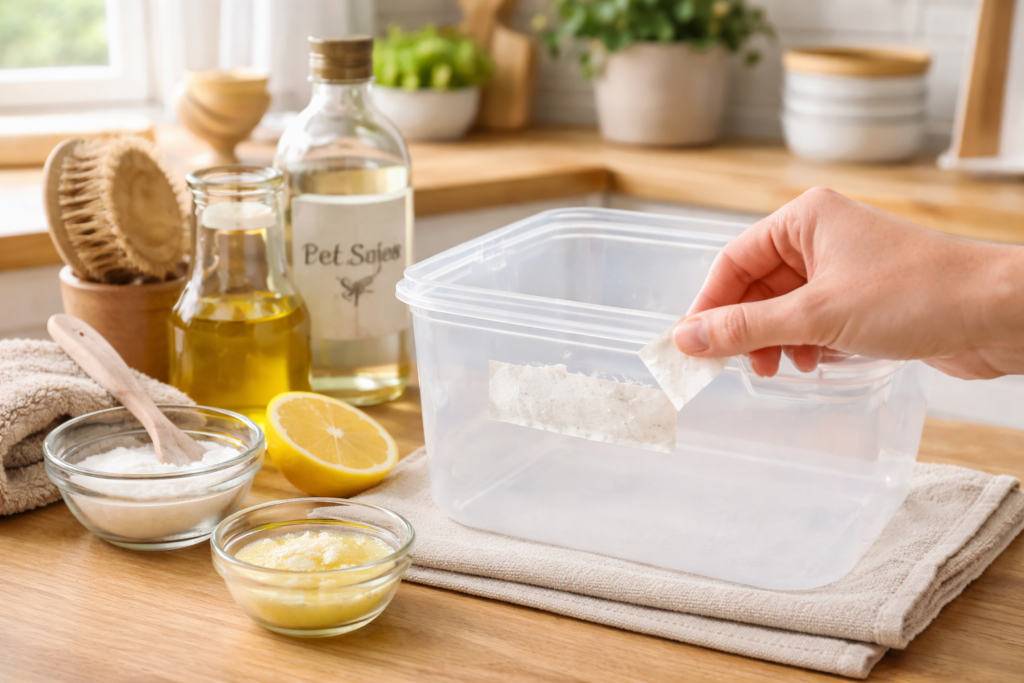
I had a plastic container with a stubborn label that just would not come off cleanly. And instead of giving up or scratching at it (which only makes things worse), I worked through a few simple methods — the kind you probably already have at home — until the container was perfectly smooth again.
This guide gathers those techniques in one place, so the next time a sticker tries to win, you’ll know exactly what to do.
🧠 Why Sticker Residue Is So Stubborn
Most labels use pressure-sensitive adhesives designed to stick through shipping, temperature changes, and moisture. When you peel the paper away, the glue stays behind — especially on plastic.
The goal isn’t force.
The goal is softening or dissolving the adhesive.
🔥 Method 1: Heat (Best First Step)
Best for: Plastic containers, jars, toys, bins
Tools
- Hair dryer or heat gun (low setting)
- Fingernail or plastic scraper
- Paper towel or cloth
Steps
- Warm the sticker with a hair dryer for 20–30 seconds.
- Start peeling slowly from one corner.
- If residue remains, reheat briefly and rub with a paper towel.
✨ Heat softens the adhesive so it releases instead of tearing.
🧴 Method 2: Oil (My Go-To for Plastic)
Best for: Plastic, glass, finished surfaces
Tools
- Cooking oil, olive oil, or vegetable oil
- Paper towel or cloth
Steps
- Apply a small amount of oil directly onto the residue.
- Let sit 5–10 minutes.
- Rub gently — the glue will roll up and lift away.
- Wash with warm soapy water afterward.
🌸 This is often all you need.
🍋 Method 3: Baking Soda + Oil Paste
Best for: Thicker residue, larger labels
Tools
- Baking soda
- Oil (any kind)
- Cloth or sponge
Steps
- Mix equal parts baking soda and oil into a paste.
- Spread over residue.
- Let sit 5 minutes.
- Rub gently and wipe clean.
- Wash surface afterward.
✨ Adds gentle abrasion without scratching.
🧪 Method 4: Vinegar or Rubbing Alcohol
Best for: Glass, metal (use caution on plastic)
Tools
- White vinegar or rubbing alcohol
- Cotton pad or cloth
Steps
- Apply liquid to residue.
- Let sit 2–3 minutes.
- Wipe clean.
- Rinse or wash surface.
⚠️ Always test on plastic first — some plastics haze.
❌ What Not to Do
- Don’t scrape with metal tools
- Don’t use acetone on plastic
- Don’t scrub aggressively — it spreads adhesive
- Don’t mix chemicals
Gentle always wins here.
🌸 Mrs. Clay’s Tip
If a sticker is fighting you, stop and switch methods. Adhesive responds to softening, not force.
📦 Common Items This Works On
- Food storage containers
- Glass jars
- Kids’ cups and toys
- Candle jars
- Picture frames
- Kitchen canisters
❤️ From My Recipe Box to Yours
Some solutions aren’t about perfection — they’re about making everyday life feel just a little easier. This is one of those small wins that restores calm, order, and the simple satisfaction of a smooth, clean surface.
🧾 Recipe Card
Mrs. Clay’s Sticker Removal Guide
What You’ll Need
- Heat (hair dryer)
- Oil soak
- Baking soda + oil paste
- Vinegar or rubbing alcohol (surface-safe only)
Instructions
- Start with heat to loosen adhesive.
- Apply oil if residue remains; let sit 5–10 minutes.
- Rub gently until adhesive lifts.
- Wash surface with warm soapy water.
- Repeat with alternate method if needed.
💛 Slow and gentle always works better than force.